Today screenshot is handy for several reasons. Such as if you want to send copies of error emails to assistance services or save a tweet or messages you believe will be deleted in a few minutes. Today’s laptops have ways to take screenshots, and they contain Chromebooks.
It is a little bit different from your PC or Mac, but it’s an easy tool to do. However, it may be a little confusing for somebody from a different platform, mainly since their keyboards are slightly different from Mac or Windows PCs. Also, some keys which are present on other laptops are missing when adding new ones.

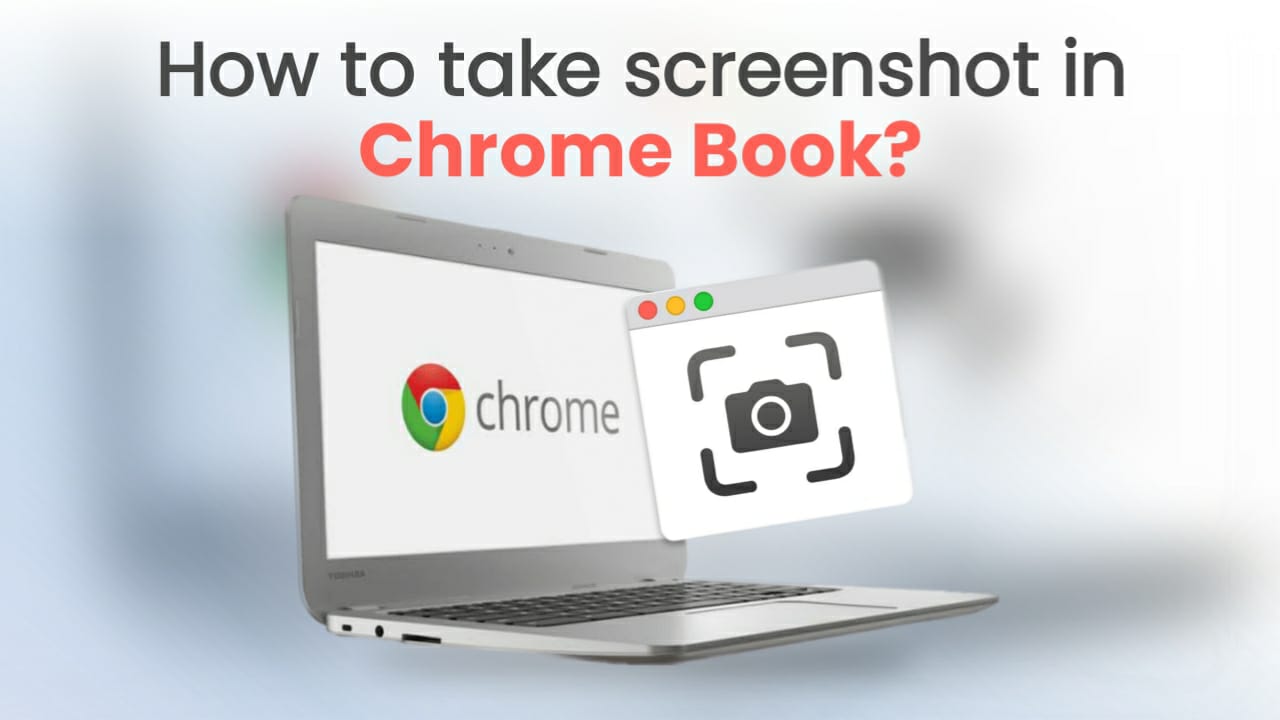
There are two ways to take a screenshot on Chromebook are:
- Applying a key combination
- Applying the Quick Settings pop-up
Screenshot Applying Quick Settings
Learning to take screenshots on a Chromebook is one of the earliest things you’ll want to do after picking up one of these adaptable little computers.
- Tap on the clock, which is in the lower-right corner of the screen, and you will see the Quick Setting menu
- Tick on the Screen Capture button that looks like a circle in a square.
You will find a small menu (at the bottom of the screen) with a number of icons. From left to right, they include:
- Screenshot required for still capture
- Screen Record (for video capture)
- Get a full-screen screenshot
- If you want to take a preferential screenshot (a crosshair icon will be seen; tap and drag until the part of the screen you want to copy will be highlighted, then release).
- Take a screenshot of Windows (for one window)
- Setting
When you click the Settings icon, you can modify your audio input, choose whether your mic will be live, and pick the folder you want to save your screenshot or recordings.
Using The Keyboard
A quick way to take a screenshot is to use key combinations.
- Hold down Ctrl + Show Windows (the key looks like a rectangle with two lines) for a screenshot
- Hold down Ctrl + Shift + Show Windows for a partial screenshot
- Drag to select capture areas
- Hold down Ctrl + Alt + Show Windows to screenshot a window
- Select the icon named window (a complete square).
- Click on the desirable window that you want to screenshot
- Press Shift + Ctrl + Show windows key to get a similar menu when you go to the Quick Settings Menu.
How To Capture a Screenshot Of A Window On A Chromebook?
If you do not want a chaotic screenshot that consists of your taskbar, you can take advantage of the screenshot tool in Chrome OS to get just a specific window. Follow the steps:
- Search for the content or topic
- Hold the Ctrl+Alt Keys and then tap on the Show Windows Key
- At the bottom of the screen, you will see the Chrome OS screenshot toolbar
- Click on the (rightmost)three central icons on the toolbar, which is the Window Screenshot’ option.
- When that option is selected, your cursor will be shifted to a camera icon. Hover the icon on the window you want to screenshot and click on it. This will capture only a window instead of your whole screen. As before, your screenshot will be saved in your My Files folder.
How Do You Use the Screenshot Toolbar?
The Screen Capture Toolbar allows you to take screenshots and can also be utilised for capturing screen recordings. The icon that helps to shift from still to video is on the toolbar’s left. To the right of that icon, you have the choice to take a full-screen screenshot, a partial screenshot (a specific area you define) or a screenshot of a particular window.
These work for both photos and videos. Plus, clicking the settings in the toolbar allows you to turn the mic on or off while recording your screen, making it easy to add narration to your screenshots.
How do you take screenshots with the help of buttons in tablet mode?
If you want to capture a screenshot on a Chromebook in tablet ( tent) mode, press the power and volume buttons simultaneously, just like you would on your smartphone. However, you don’t have to press and hold; press the button once and release. A full-screen screenshot will be instantly captured on your Chrome OS tablet.
If you have an HP Chromebook, you must follow the instructions to capture screenshots in Tablet mode.
SHORTCUT: Power +Either of the Volume Buttons
How To Save And Edit Your Screenshot?
After you take a screenshot, a copy of the screenshot will be seen in a pop-out window right above the Quick Settings menu. Tap on it to show it in the folder. Any screenshot you take will undoubtedly end up in the Downloads folder — but you can modify which folder you want it to be saved to via the Settings button in the Screen Capture menu.
You can make it by clicking the Edit or Delete buttons. The Edit button will take you to a helpful app that allows you to do essential assignments like annotating, rescaling, or tweaking lighting, cropping, and rotating.
Where Do the Screenshots Are Saved on The Chromebook?
When you take or record a screenshot, it’s instantly available from the clipboard, which stores the last five things you saved. Just press the Everything button or Search key plus V to see what’s available.
Your Chromebook also has a keeping spot on the shelf called a Tote. This is where you will get your latest screenshots. You can also pin files to Tote, meaning you can get an actual screenshot quickly to open without having to search for it.
Screenshots no longer saved to the clipboard will be available in your Files App. Click the Files app on the Chromebook, and you will see your screenshots in the Images folder and screen recordings in the Videos folder.
Conclusion
Screenshots are helpful when you need to take your screen content. As you can see, there are various ways to do this on Chromebook, so choose a procedure that applies to your needs and go along with the proper steps to get a screenshot on your Chromebook.


![How to Use ChatGPT Canva Plugin to Up Your Social Media Game [2025] How to Use ChatGPT Canva Plugin](https://techihd.com/wp-content/uploads/2025/01/Use-ChatGPT-Canva-Plugin.jpg)
![How to Use One WhatsApp Account on Two Phones in [2025] One Whatsapp In Two Phone](https://techihd.com/wp-content/uploads/2025/02/two-whatsapp-in-one-phone-218x150.webp)
![How to Install an Intel or AMD CPU on Your Motherboard [2025] How To Instal Intel Or AMD CPU On Your Motherboard](https://techihd.com/wp-content/uploads/2023/03/WhatsApp-Image-2023-03-03-at-14.49.36.jpg)


